
A Day of Texture

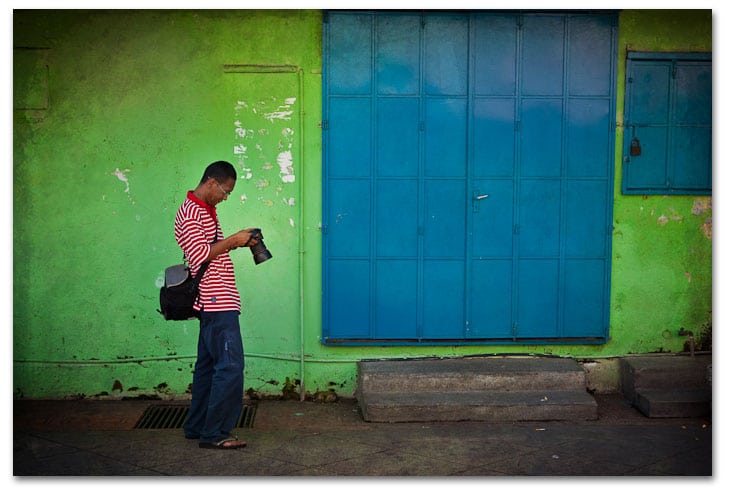
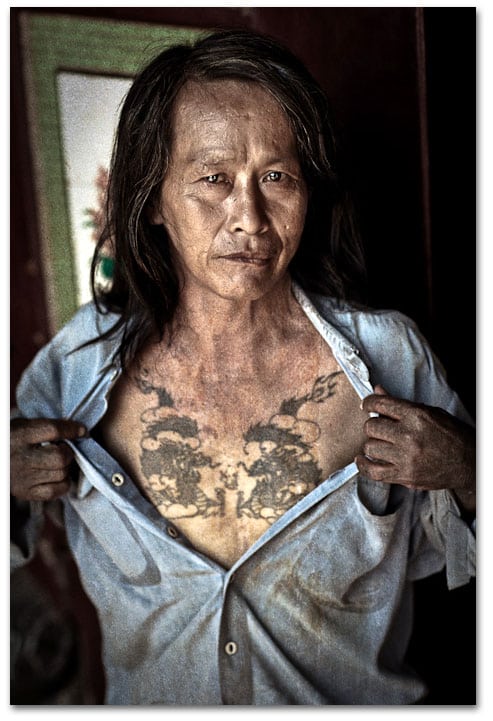
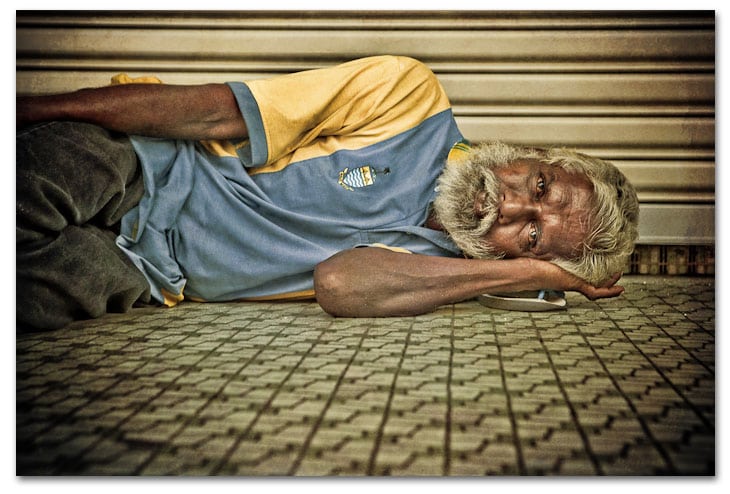
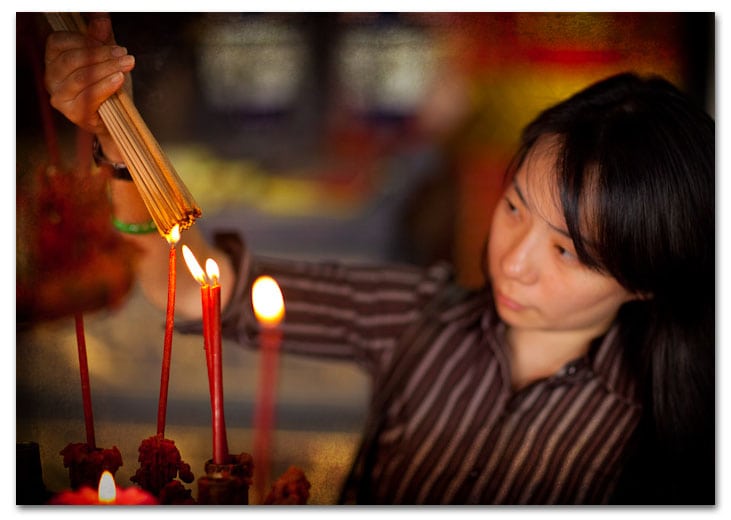
Yesterday I took a day off and went out and took some photos. I needed to get away from the computer, away from the four walls of my office and get out into the real world again. I called up a friend of mine, Hariman, and we went roaming the city on the back of my scooter. We had no agenda, no plan, nothing, just the idea to go out and let the environment speak to us. It was a very hot day, and it seemed like everywhere we went people were either out of town, their shops closed or they were ill. But all in all I walked away with a few images and I thought I’d share with you here today.
I don’t normally treat my images with any sort of texture. In fact, last week was the first time I used any sort of frame on an image in a long time. But after browsing through some of Chris Orwig‘s images I was inspired to play around. I think that if there is a trick to using textures, it is you have to have a decent image to begin with. Textures can be thought of or used as a sort of un-suck filter. The image has to be good to begin with, no amount of Lightroom presets, cool textures or frame is going to make it any better. Putting fake hair on top of my head isn’t going to make me a different guy, it’s just going to make me look like a guy with a rug on his head. I’m still the same bald guy, bald or hairy, it’s me. An image that’s bad with a texture laid on top of it, or an HDR treatment is still a bad image. Only now, it is a bad image with a really cool looking texture on it. If you’ve got something to work with and the textures fit with what you envisioned when you shot it, then by all means use a texture or preset. Textures can enhance your vision.
You don’t have to go out and buy a lot of expensive texture sets. In fact, the ones I used here were free. You can find some really nice textures HERE and HERE. If you’re new to Photoshop, textures are very easy to use. Simply copy a texture and paste it on your photo. It becomes the top layer, then set the blend mode for that layer to something like overlay or soft light. Then, what I do is adjust the opacity of the layer and maybe create layer mask and paint out some of the texture. And that’s it. Have fun.



I only tried it once or twice with my wife's maternity shots (http://www.sephi.com/personal/two-simple-matern…). very inspiring technique indeed, but only works with certain images. A day off sounds like a great idea 🙂
Unfortunately, I see textures, especially HDR, being used as an “un-suck filter” more often than not. I've stopped frequenting some HDR sites just because of this. The technique is great, but the pictures are not.
I wish I had slow days like yours.
Yeah, I agree, it only works with some images and it can get old really quick. I love the metallic blue cast in your second image.
Like I said, you need a good shot to start with.
Lemonade Ray, lemonade.
These textures work well. Trey Ratcliff at http://www.stuckincustoms.com has some really nice ones on his site somewhere that you might like to check out.
They definitely need a good base image first, but then, doesn't everything?
Excellent pictures as usual Matt!
Yet I’m not a big fan of textures, it looks good on some of them…
I’m currently testing Lightroom 3beta, and you can add some grain, it’s nice to “hide” the digital noise…
Excellent pictures as usual Matt!
Yet I'm not a big fan of textures, it looks good on some of them…
I'm currently testing Lightroom 3beta, and you can add some grain, it's nice to “hide” the digital noise…
I am not either in general. I think the trick is uses them sparingly and don't over do the effect on the image. I have the LR3 Beta but haven't had any time to play with it. Sound like a great update.
Yes, sparingly is the word 😀 It all depend on what genre of pics… and to whom it's pointed.
LR3b is faster and seems lighter (even with huge 5DII raw files), but it crashes often (still the beta…)… import panel is redesigned and clearer too, yep, a great update, can't wait for the final release 😛